Making an impactful and professional scientific illustration from scratch can seem daunting. Here, we break up the process into 8 simple steps, designed to take your visuals from “good” to “great”. Let’s make your images stand out!
Step 1: Understanding context
Before starting your scientific illustration, it’s important to understand its intended use, as this will influence your design choices. The context of an image is shaped by three key factors: placement, audience, and tone.
Placement refers to where the illustration will appear, such as in a textbook, poster, or exhibit. Each setting has different requirements for size, style, and content. For example, a poster needs to be eye-catching and vertically oriented, while an exhibit wall demands a larger file size and a layout that guides viewers through the space. Determining the size and placement is a crucial first step.
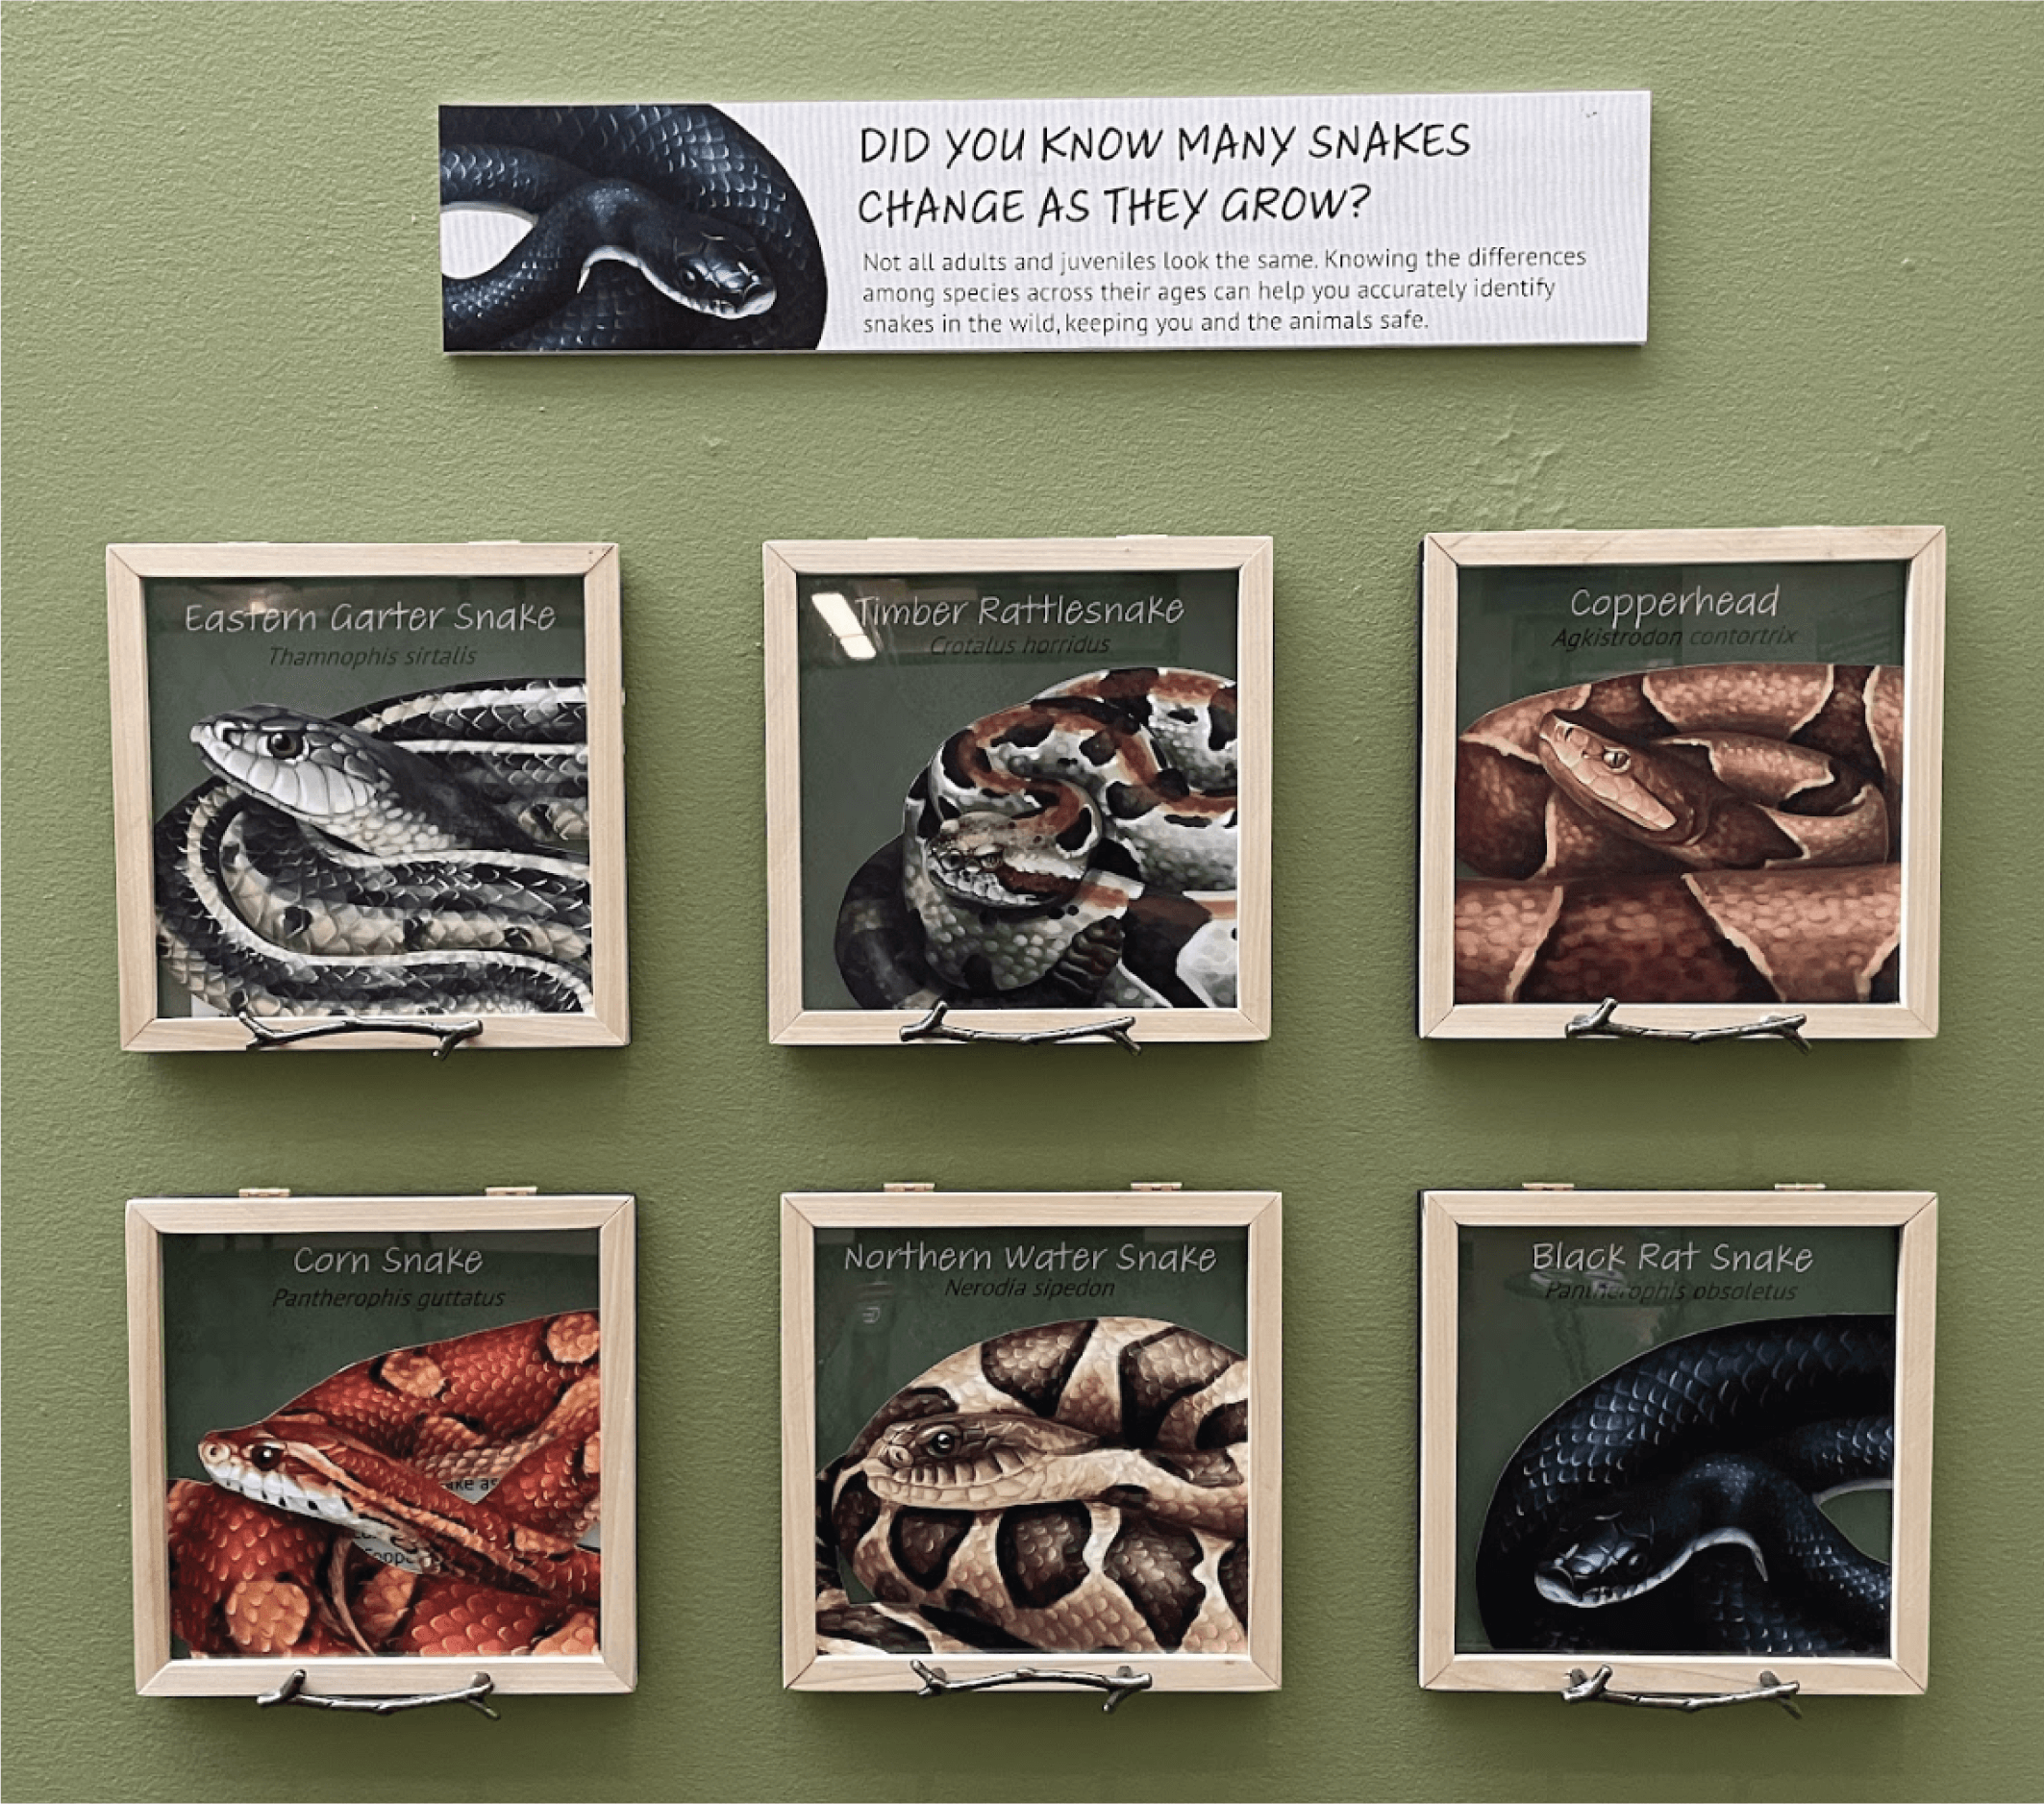
Audience determines the level of detail and complexity needed in the illustration. Are your viewers experts or novices? Will they be children or adults? Tailor the content, labels, and style to suit the knowledge and preferences of your target audience.
Read more on understanding your audience here.
Tone refers to the mood or attitude of the illustration. Consider your placement and intended audience. Would this illustration be best suited to a playful or professional style? Should the visuals be detailed or concise?
Step 2: Goals
Now that you have a good grasp on the context, it’s time to identify the main goal of your scientific illustration. Is it to teach a topic, showcase a new medical tool, or explain a biological process? Keep the goal clear and concise, such as “to show the differences between gram-positive and gram-negative bacterial cell walls.” Knowing your goal will have a huge impact on how you visualize your subject matter.
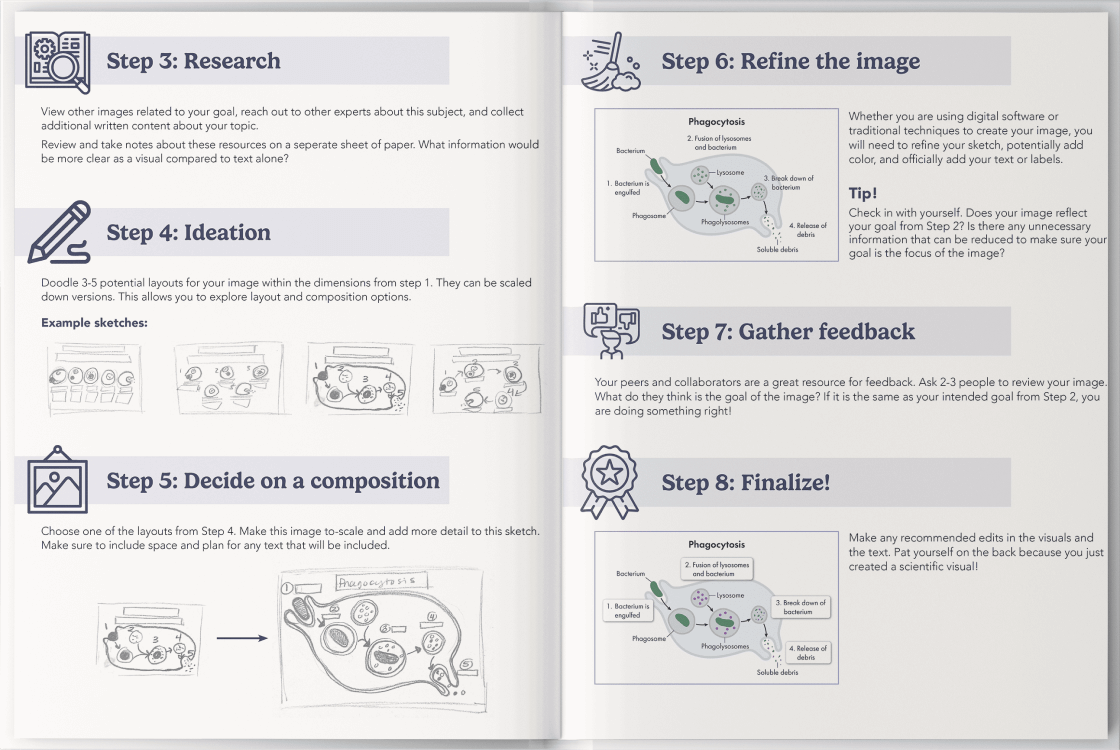
Step 3: Research
Creating an effective and accurate image requires research. First, dive deeply into the topic and explore existing images related to it. Consult experts in the field to gain diverse insights, and gather additional written content, like journal articles. As you review these resources, take notes on the most important points. Pay special attention to which information would be clearer or more impactful as a visual.
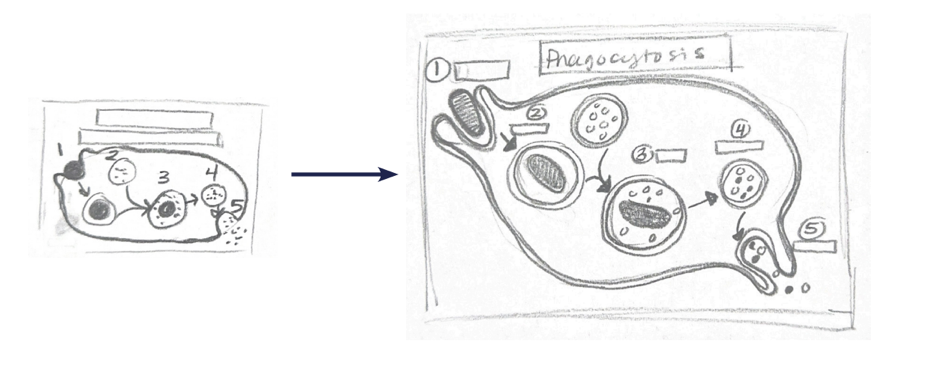
Step 4: Ideation
Sketch 3-5 potential layouts for your image within the dimensions from Step 1. This allows you to explore various composition options.

Step 5: Decide on a composition
Choose one of the layouts from Step 4. Make this image to-scale and add more detail to this sketch. Make sure to plan for any text that will be included.
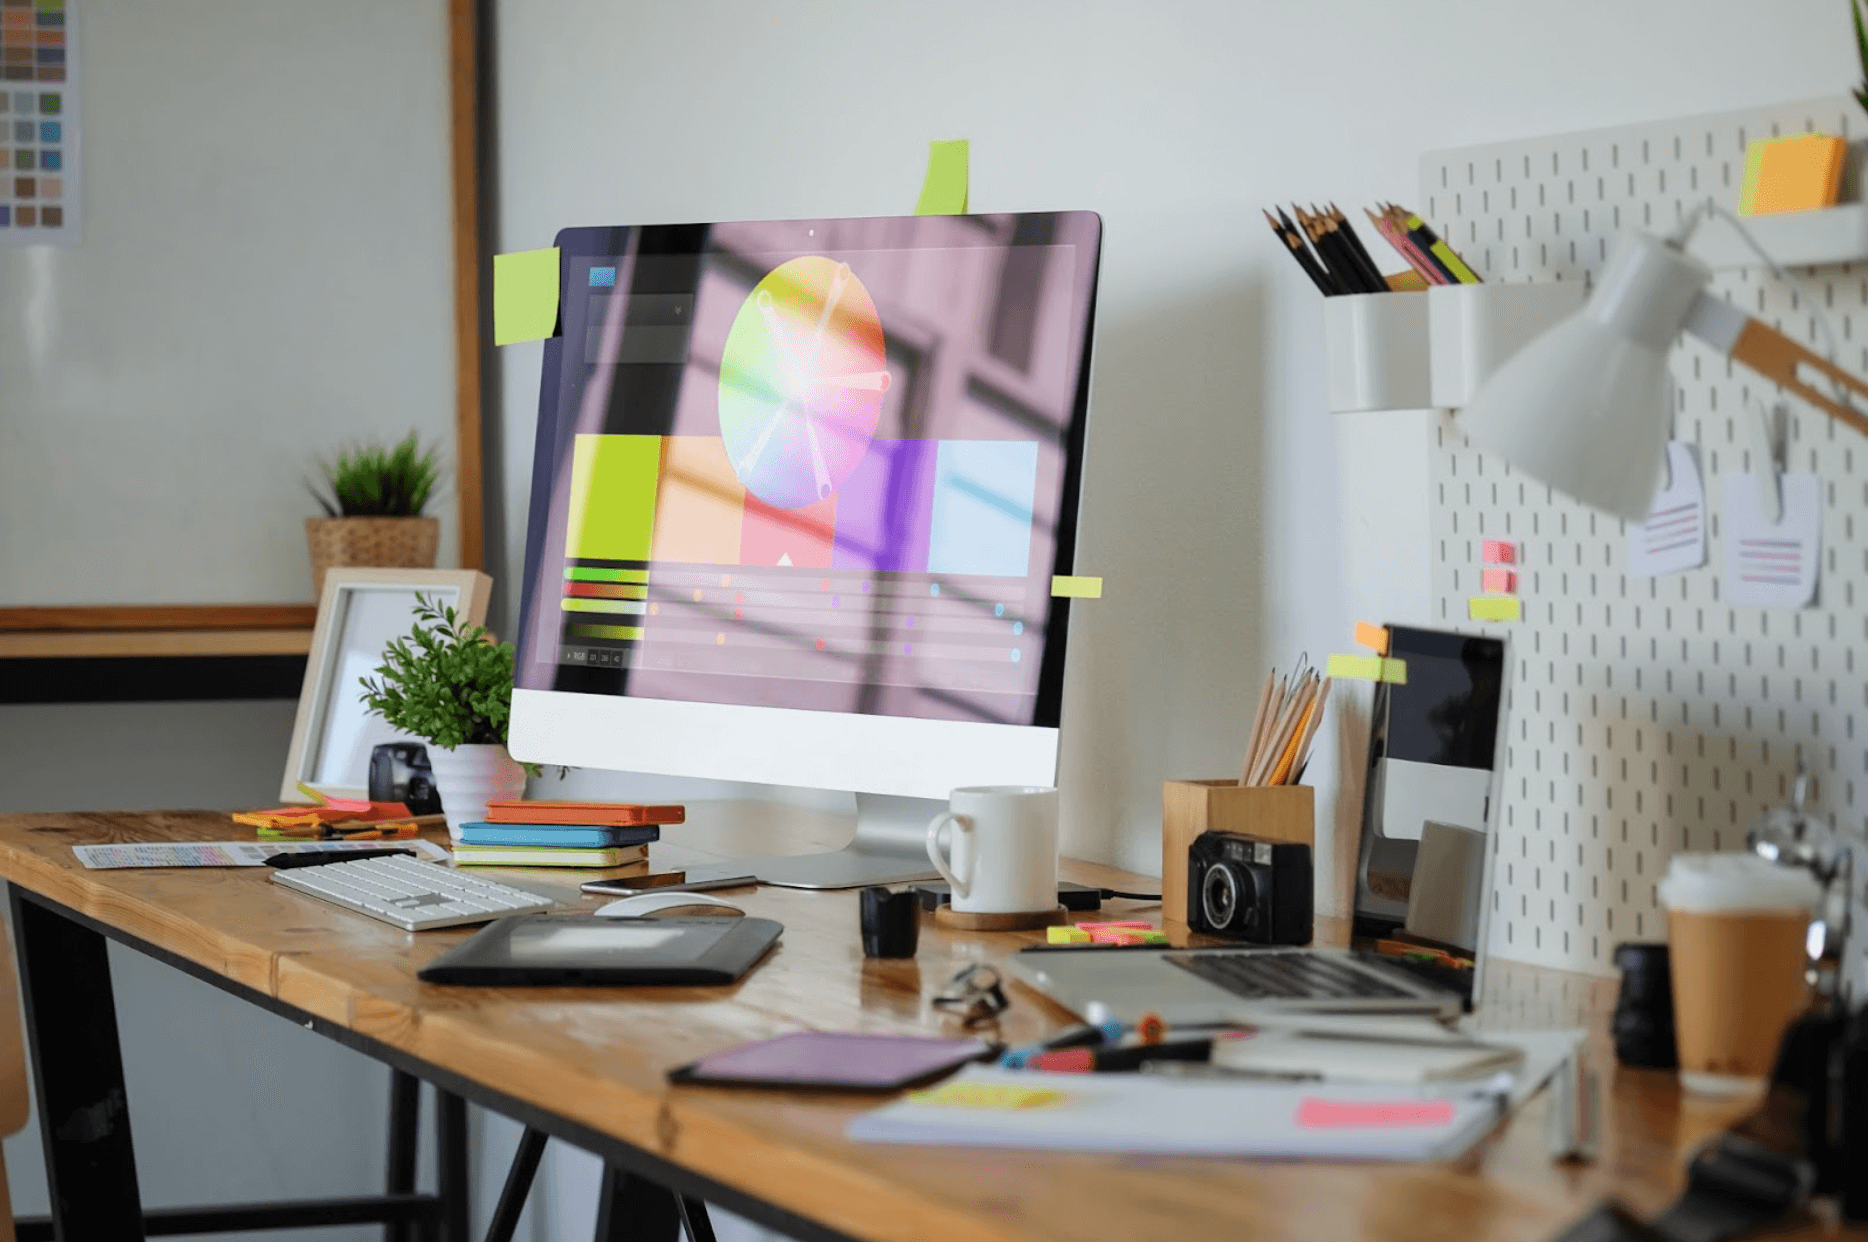
Step 6: Refine the image
Whether you are using digital software or traditional techniques to create your image, you will need to refine your sketch, potentially add color, and officially add your text or labels.
Check in with yourself. Does your image reflect your goal from Step 2? Is there any unnecessary information that can be reduced to make sure your goal is the focus of the image?
Step 7: Gather feedback
Your peers and collaborators are a great resource for feedback. Show your illustration to 2-3 other people and ask them what they think the goal of the image is. If it is the same as your intended goal from Step 2, you are doing something right!
Step 8: Finalize
Utilize your feedback from your peers and make any recommended edits. Don’t forget to check any text or labels too. Pat yourself on the back because you just created a custom scientific illustration!
Additional Resources
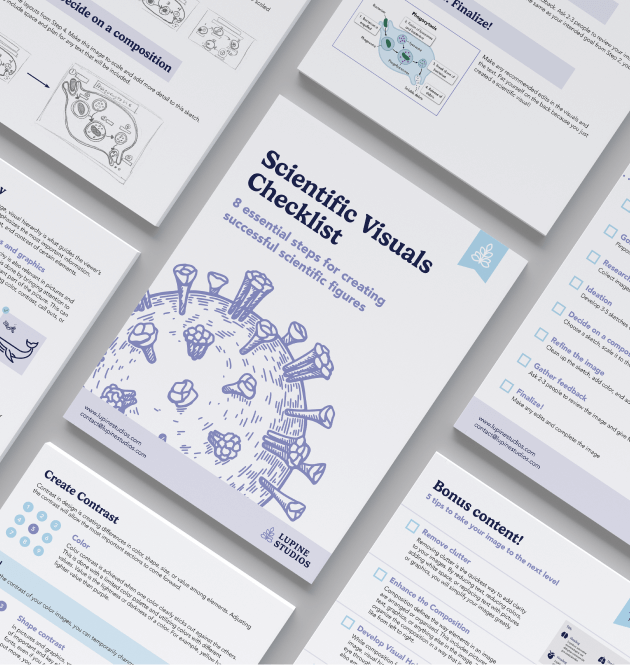
Download our Scientific Visuals Checklist for more tips and tricks to polish your scientific visuals for research or educational purposes.

Level up your visuals with this easy-to-follow guide
Learn More about the Checklist