If you’ve ever flipped through a textbook, wandered through a museum exhibit, or scrolled past an infographic online, chances are a scientific illustrator had a hand in creating the visuals. Scientific illustration is a unique blend of art and communication: it’s about making complex information both accurate and engaging. To pull this off, illustrators rely on a mix of tools that help them move between detailed rendering, precise line work, and polished design.
In my own practice, I’ve found that different tools serve different roles. Some are better for painterly, organic work, while others excel at clean diagrams or layout design. Here’s some of the tools I use everyday as the lead illustrator and designer of Lupine Studios!
~ Evyn Caiazza
Adobe Suite: Photoshop, Illustrator, and InDesign
Adobe’s creative programs are an industry standard, and thus at the heart of most scientific illustration workflows. While you can use Procreate or other drawing and design software, professional clients expect artists to be fluent in the Adobe Suite. Each one brings something different to the table, but the following are the three I use just about every day.
When I need to create rich textures or realistic shading, Photoshop is my go-to. It’s perfect for rendering details like the softness of an animal’s fur or the transparency of a jellyfish. And while I can paint directly in Photoshop, I can also use it to refine scanned sketches or adjust colors in reference images. Photoshop is the closest thing to a digital paintbrush.
For clean, precise visuals, I switch to Illustrator. Because it’s vector-based, Illustrator is ideal for diagrams, logos, and anything that needs to be sharp and scalable. Whether I’m labeling an anatomical drawing or designing icons for a field guide, Illustrator keeps everything crisp and professional.
Finally, there’s InDesign, which ties everything together. Most illustrations are usually part of a bigger project like a textbook, poster, or brochure. InDesign gives me the tools to combine text and images into layouts that feel balanced and easy to read. It’s the software that takes all the individual pieces and turns them into a cohesive design.
Together, these three programs form the backbone of how I create and present my work.

Check out our post about how to make a custom scientific illustration!
Wacom Tablet: Drawing with Precision
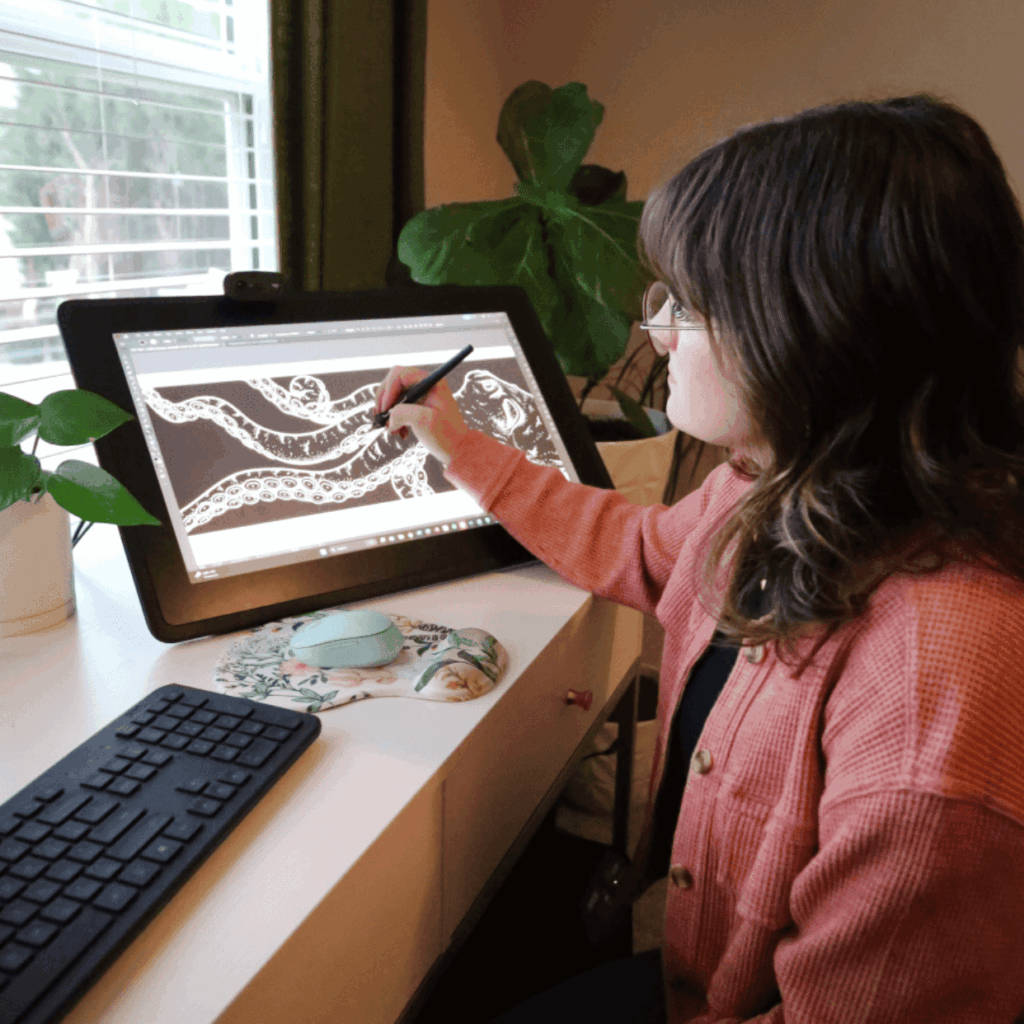
With the amount of digital drawing and painting I have to do in a standard workday, my Wacom Cintiq is really a lifesaver when it comes to ergonomics and precision work. Unlike using a mouse, the tablet and stylus let me control line weight, shading, and texture with the same hand movements I’d use on paper.
For large-format projects or really detailed illustrations, the Wacom is indispensable. It has pressure sensitivity that makes strokes feel natural, and it gives me the control I need for tiny details, like stippling on a bone or tracing the veins of a leaf.
iPad: Quick and Portable Sketching
For smaller spot illustrations or quick sketches, I often grab my iPad. With apps like Procreate, I can sketch on the go, experiment with colors, or create small diagrams without needing my full desktop setup.
It’s portable and easy to use, and therefore perfect for when inspiration strikes outside the studio or when I need to mock up ideas quickly. While it doesn’t replace the precision of the Wacom for big projects, it’s a great everyday tool for lighter, more spontaneous work.
Studio Inspiration
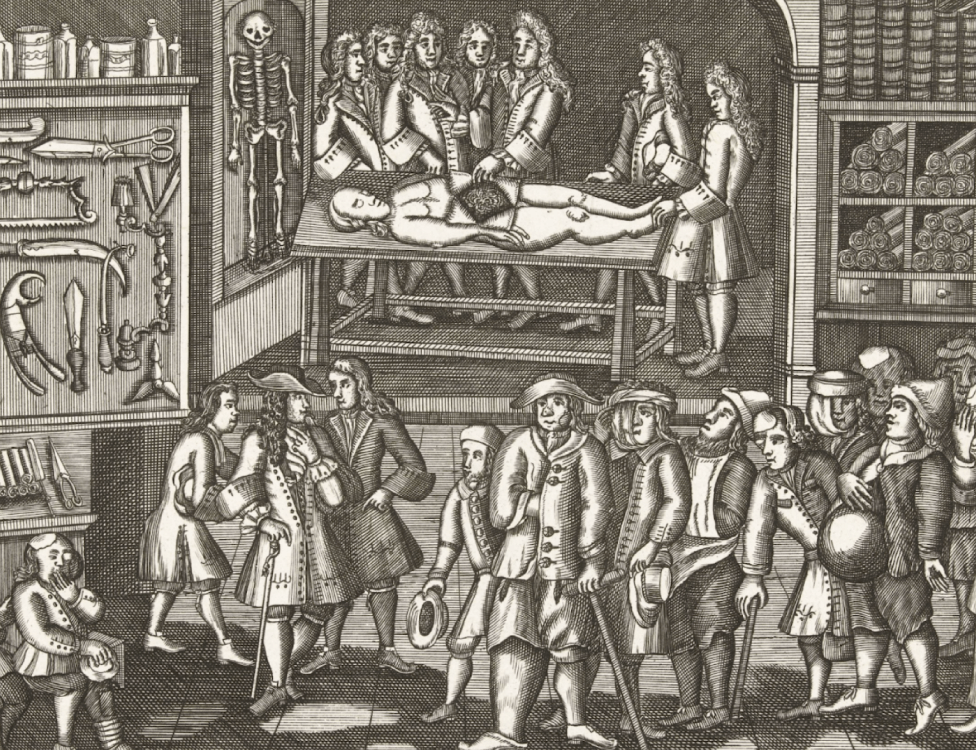
Of course, not all the tools I rely on are digital. I like to surround myself with objects that spark curiosity and help me study details up close. Skulls, taxidermied insects, pressed plants, old artworks, and piles of sketchbooks surround me in my office. Having these materials within arm’s reach keeps me inspired and reminds me of the tactile, observational roots of scientific illustration. And while those objects are useful, no studio is complete without my two “studio managers,” Leo and Claudia, who make sure all projects are completed under strict feline supervision.

Finding the Right Balance
Every illustrator develops their own workflow, and part of the job is figuring out which tool best fits the task at hand. Together, this toolkit helps Lupine Studios transform complicated scientific concepts into visuals that are clear and engaging. At the end of the day, it’s less about the software itself and more about how these tools can bring science to life in a way that connects with people.

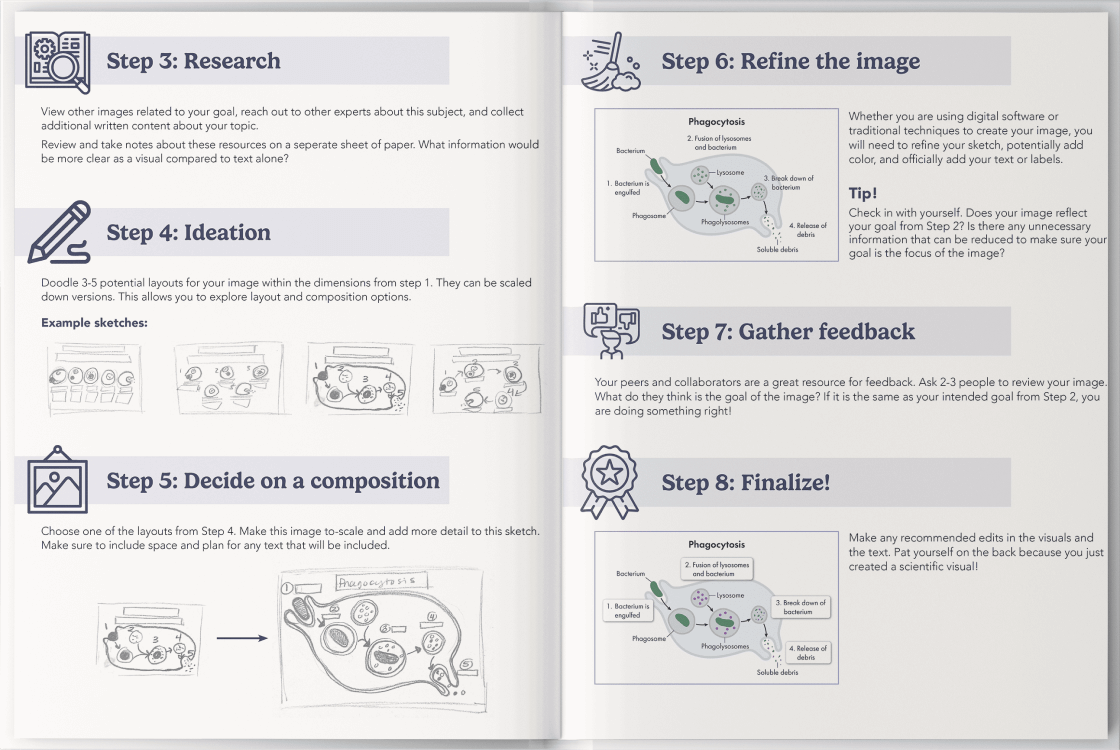
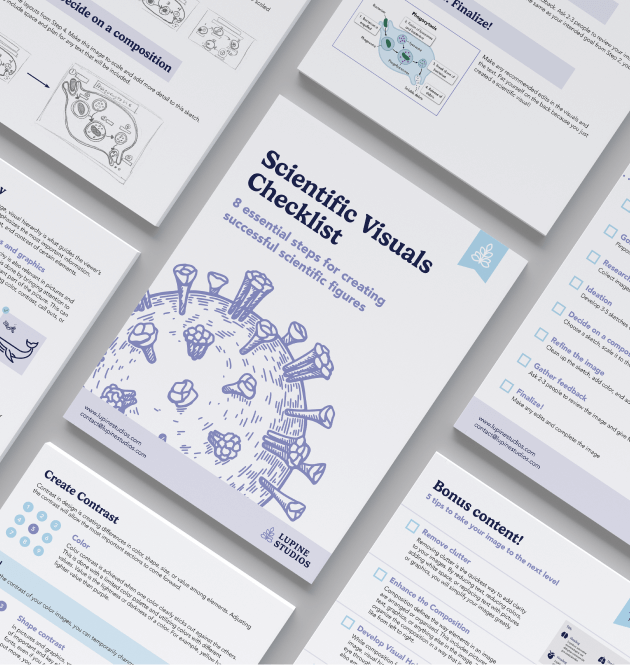
Level up your visuals with this easy-to-follow guide
Learn More about the Checklist